How to Connect MongoDB with Node.js using Mongoose
If you’re building a backend app with Node.js, at some point you’ll need a database to store your data. MongoDB is one of the most popular choices for this, especially when you’re working with JavaScript on both the frontend and backend. But connecting MongoDB directly with Node.js can get messy. That’s where Mongoose comes in.
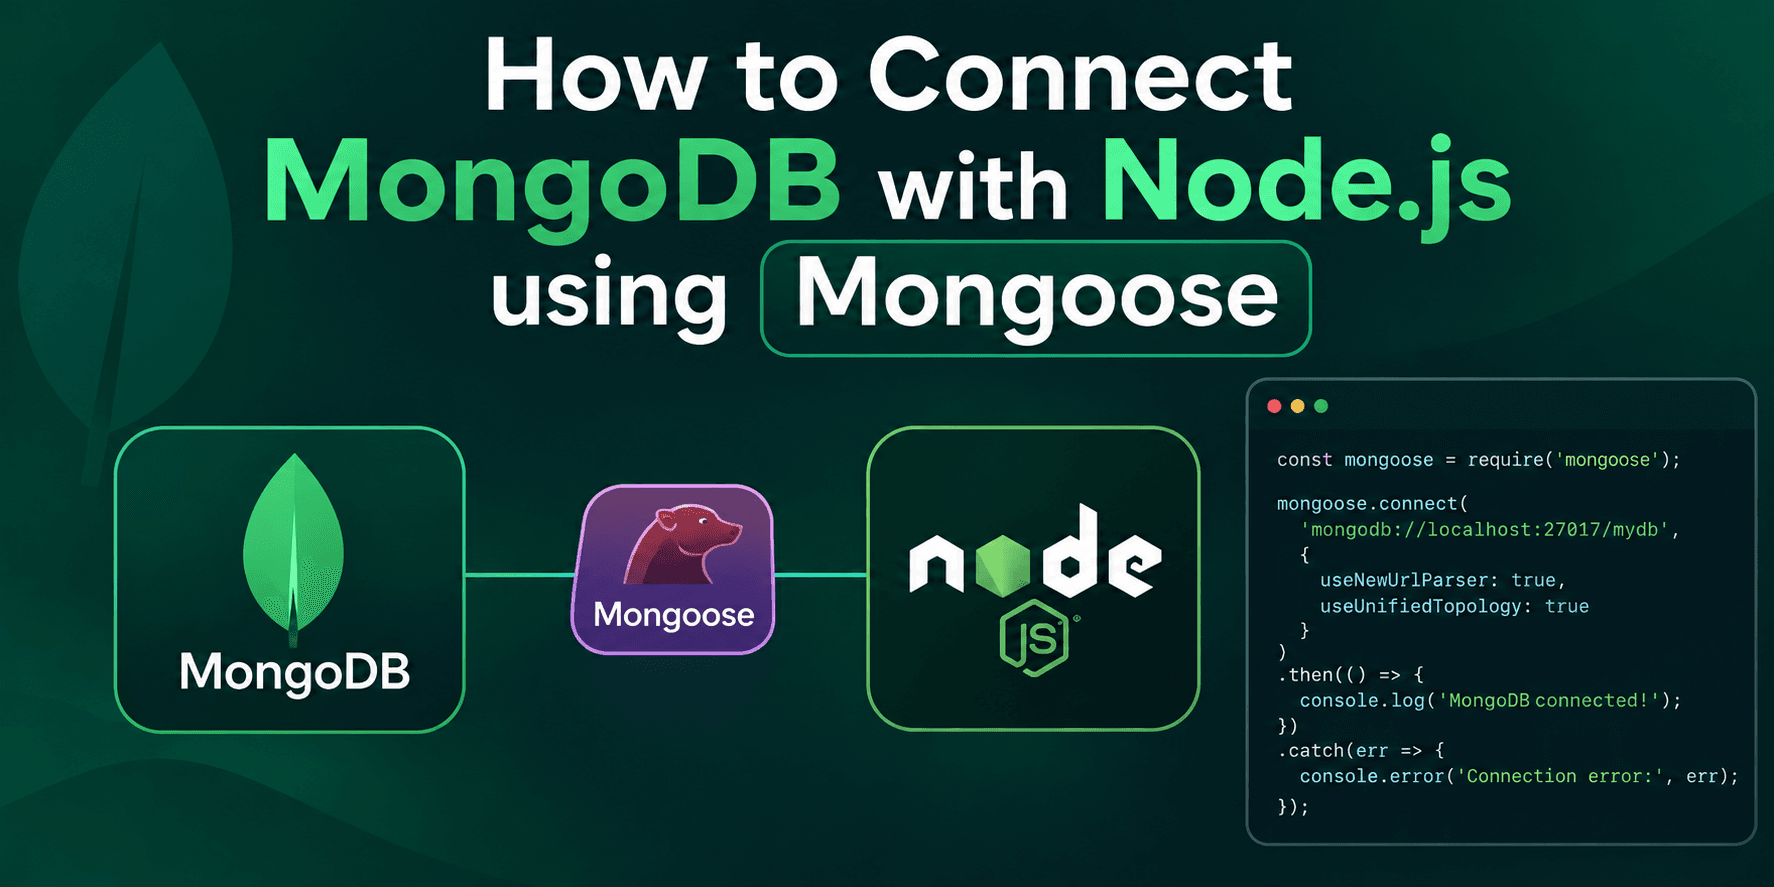
If you’re building a backend app with Node.js, at some point you’ll need a database to store your data. MongoDB is one of the most popular choices for this, especially when you’re working with JavaScript on both the frontend and backend. But connecting MongoDB directly with Node.js can get messy. That’s where Mongoose comes in.
Mongoose is a library that sits between your Node.js app and MongoDB. It makes things much easier by giving you a simple way to define your data structure and talk to the database. In this post, I’ll walk you through the whole process step by step.
What is Mongoose
Mongoose is an ODM, which stands for Object Data Modeling. In simple words, it lets you create models for your data (like a User model or a Post model) and it handles all the communication with MongoDB behind the scenes. Instead of writing raw database queries, you get clean and readable functions.
Step 1: Set Up Your Project
First, create a new folder for your project and open it in your terminal. Then run this command to start a Node.js project:
npm init -yThis will create a package.json file for you.
Step 2: Install Mongoose
Now install Mongoose using npm:
npm install mongoose
That’s it. No extra setup needed. Mongoose is ready to use once it’s installed.
Step 3: Get Your MongoDB Connection String
Before connecting, you need a MongoDB database. You have two options here:
- Use MongoDB Atlas (cloud version, free tier available)
- Use MongoDB locally on your computer
If you’re just starting out, MongoDB Atlas is the easier option. Just create a free account, set up a cluster, and copy your connection string. It will look something like this:
mongodb+srv://username:password@cluster.mongodb.net/mydatabase
Step 4: Connect to MongoDB
Now create a file called server.js (or index.js, whatever you prefer) and write this code:
const mongoose = require('mongoose');

mongoose.connect('your-connection-string-here')
  .then(() => {
    console.log('Connected to MongoDB');
  })
  .catch((error) => {
    console.log('Connection failed', error);
  });
Replace your-connection-string-here with the actual connection string from your MongoDB Atlas dashboard. Run this file with node server.js and if everything is correct, you’ll see “Connected to MongoDB” printed in your terminal.
Step 5: Create a Schema and Model
This is where Mongoose really shines. A schema defines the shape of your data. Let’s say we’re building a simple user system:
const userSchema = new mongoose.Schema({
  name: String,
  email: String,
  age: Number
});

const User = mongoose.model('User', userSchema);
The schema tells Mongoose what fields your data will have and what type each field should be. The model is what you’ll actually use to create, read, update, and delete data.
Step 6: Save Data to the Database
Once your model is ready, you can save new data like this:
const newUser = new User({
  name: 'Hasnain',
  email: 'hasnain@example.com',
  age: 22
});

newUser.save()
  .then(() => console.log('User saved'))
  .catch((error) => console.log(error));
Step 7: Fetch Data from the Database
To get data back, you can use the find method:
User.find()
  .then((users) => console.log(users))
  .catch((error) => console.log(error));
This will return all the users stored in your database.
Common Mistakes to Avoid
While connecting MongoDB with Node.js, beginners often face a few issues. Here are some things to watch out for:
- Make sure your IP address is whitelisted in MongoDB Atlas, otherwise the connection will fail
- Double check your username and password in the connection string
- Don’t forget to handle errors using try-catch or .catch(), so your app doesn’t crash silently
- Keep your connection string in a .env file instead of writing it directly in your code, for better security